

 English
 中文简体
 Español
News
Home / News / Industry News / What Makes a Lightweight Foldable Mesh Tarpaulin Right for Event Promotion?


Content
Every event manager knows the moment when a large outdoor banner catches the wind and turns a simple setup into a logistics problem. Heavy vinyl panels demand a crew, reliable anchor points and a lot of patience, and they often end up stored in a corner after a single weekend. That is why many planners now look at a mesh tarpaulin built for short-term display rather than permanent signage.
A mesh tarpaulin is a woven or knitted base fabric with a regular pattern of small openings, usually coated with PVC or a similar polymer. The openings let air pass through, which lowers the wind load on the panel. The coating gives the surface enough stiffness to hold colour and print detail. For roadshows, opening ceremonies, pop-up markets and trade fair entrances, this combination delivers a large visual footprint without the weight and rigidity of solid material.
The shift is not only about convenience. Event budgets have become tighter, and the time between a client approving artwork and the event going live has shrunk. Teams need graphics that can be printed quickly, shipped in a small carton, installed by one or two people and folded away without damage. Understanding what makes a lightweight, foldable option work in practice helps buyers avoid costly mistakes.
Lighter materials reduce labour time, storage space and freight cost at the same time, which is why they tend to win repeat orders from event organisers and display contractors.
Before comparing products, it helps to understand the parts that determine how a mesh panel behaves. Three factors matter most: the base yarn, the weave density and the coating. Each one changes weight, strength, print quality and the amount of air that passes through the surface.
Mesh panels are commonly described by yarn denier and the number of threads per unit length. A finer yarn produces a lighter fabric but may reduce tear resistance, while a coarser yarn adds strength and weight. Density determines how large the openings are. A tighter weave gives a smoother printing surface and a better sharp-edged image, whereas a more open weave allows more airflow and reduces wind pressure on the panel.
The coating seals the yarn and creates a receptive layer for ink. Printing performance depends on how well the surface absorbs and holds the ink, and on whether the coating is stable enough to avoid cracking when the panel is folded repeatedly. Some surfaces are designed for solvent or eco-solvent printing, while others suit latex or UV inks. Buyers should confirm the ink system used by their print partner before finalising the specification.
| Property | Typical Range | Why It Matters |
|---|---|---|
| Fabric weight | 180 to 260 gsm | Affects handling and installation time |
| Yarn denier | 800D to 1200D | Influences tear resistance and durability |
| Weave pattern | 7 by 7 to 10 by 10 | Controls airflow and print sharpness |
| Coating | PVC based | Supports ink adhesion and surface stability |
| Typical use | Short-term outdoor display | Matches event duration and exposure |
These ranges are general guidelines rather than fixed standards. Actual values depend on production methods, and a reliable supplier should provide test reports for the exact material you plan to order.
The most immediate benefit of a lightweight panel is the reduction in manpower. On a typical site, a heavy vinyl banner of similar size may require two or three people to unroll, align and secure, while a lighter mesh panel can often be handled by one person. The difference compounds across multi-site tours, where the same team installs and dismantles the display every day.
In field practice, planners who track setup time often report that a lightweight mesh panel can be positioned in a fraction of the time needed for solid material of the same dimensions. The exact saving depends on crew experience, anchor design and site conditions, but the trend is consistent: less weight means fewer hands, fewer tools and fewer points of failure during installation.
Consider a roadshow that visits twelve cities over six weeks. If each setup requires a three-person crew for an extra half hour compared with a single-person lightweight option, the cumulative labour difference becomes significant even before transport savings are counted. Buyers who factor in these recurring costs often find that a higher unit price for the right material still produces a lower total cost of ownership.
A large graphic is only as good as its image reproduction. Mesh surfaces behave differently from smooth vinyl, because the openings interrupt fine lines and gradients. Designers who understand this early can prepare artwork that prints clearly and remains readable from a distance.
Thin text and small icons can break up where they cross the openings, so bold typefaces and high-contrast colour blocks usually perform better. Large photographs can work well, but fine gradients may show slight banding. Setting a practical minimum line weight and testing a small sample section will prevent surprises when the full panel arrives on site.
The diagram below shows the typical layers that make up a printed mesh panel. Each layer contributes to the final appearance and durability of the graphic.
Good prepress work also includes checking colour profiles, bleed areas and seam positions. Seams should be placed where they will not cut through the main message, and any overlapping panels should be planned so that the join looks intentional from the viewing angle.
Wind is the main technical concern for outdoor graphics. A solid panel catches air across its full surface, which can push a frame, tear its fixings or lift the entire structure. Mesh panels reduce this effect because a portion of the surface is open. This porosity lets wind pass through instead of pushing against the whole face of the banner.
The practical question is not whether a mesh panel can handle wind, but how much openness, anchoring and frame strength the site requires.
Porosity is usually described as the proportion of open area. Higher openness reduces wind load but can lower the visual impact of dense graphics, so designers often balance the two by using stronger colours in the main message and lighter tones in areas where transparency is less important. For a site with frequent gusts, a more open pattern combined with proper tensioning is generally the safer choice.
For planners in exposed locations, it is wise to request a sample panel and test it on a frame similar to the final installation. Observing how the material moves in real wind provides more useful information than any general description.
A foldable graphic gives event teams a second advantage: it can be stored and reused. Solid banners often crease permanently when rolled tightly, leaving visible lines that reduce the image quality on the next event. A well-made mesh material can be folded repeatedly if the coating is flexible and the seams are finished properly.
The right choice depends on how often a graphic will be used. A one-day promotion may not justify a premium reusable material, while a rental company or a distributor serving many clients benefits from durability and clean folding behaviour. The table below compares the two approaches from a planning perspective.
| Factor | Single Event Use | Repeated Rental Use |
|---|---|---|
| Fold frequency | Low | High |
| Coating flexibility | Basic | Enhanced |
| Seam reinforcement | Standard | Recommended |
| Storage planning | Simple | Requires labelled system |
| Best value focus | Print cost | Lifetime cost |
Storage habits also matter. Panels should be folded along their natural crease lines, kept dry and stored away from heat sources. Clear labelling by size and artwork version helps teams find the correct panel quickly and avoid unnecessary handling.
Specification decisions should begin with the event itself rather than with the material catalogue. Ask how long the display will stand, how much wind the site receives, how the graphic will be viewed, and who will install it. The answers narrow the choice quickly, and they help suppliers recommend an appropriate fabric.
Many buyers compare options by looking for a lightweight event banner material that balances print performance with handling comfort. Others search for a foldable outdoor event barrier for crowd control and branding at entrances. Both goals can be met with a well-chosen mesh specification, provided the requirements are defined clearly before ordering.
A simple rule helps many teams: choose the lightest material that still meets the print and wind requirements, and avoid adding weight that the event does not need.
Even the best material performs poorly if it is installed carelessly. A consistent workflow reduces setup time and protects the graphic during the event. The process below works well for most single-person or two-person crews.
Start by checking the ground, the frame and the wind direction. Anchor points should be spaced so that no single corner carries the full load. Eyelets and reinforced edges must be inspected before the panel is unfolded, because a damaged edge can spread tear damage quickly once the material is under tension.
Attach the mesh gradually, working from one fixed point toward the opposite side. Keep the panel flat on the ground while connecting it, then lift it in a controlled motion. Once the graphic is in place, check that it sits square, that no corner is pulled too tightly and that the printed image is aligned with the frame.
Most problems with outdoor mesh graphics come from a small number of predictable mistakes. Recognising them early saves time and protects the result.
A short pre-event checklist can prevent most of these issues. Review the artwork on a sample, confirm the anchor plan with the site team and assign one person to inspect the panel during the event.
It combines a light base fabric with an open weave, which reduces handling effort and wind pressure. For short projects, these qualities usually matter more than long-term weather resistance.
Yes, provided the coating and ink system are matched correctly. Designers should keep fine lines bold and test a sample section before producing the full run.
There is no single figure for every site. Performance depends on porosity, frame strength, anchor spacing and tension. Testing a sample on a similar frame gives the most reliable answer.
Durability depends on coating flexibility, seam finishing and folding habits. Materials intended for rental use typically offer better fold endurance than single-use options.
Start with duration, wind exposure and handling requirements, then select a weave and coating that suit the whole schedule. Labelling, storage and a standard installation workflow will keep the tour running smoothly.
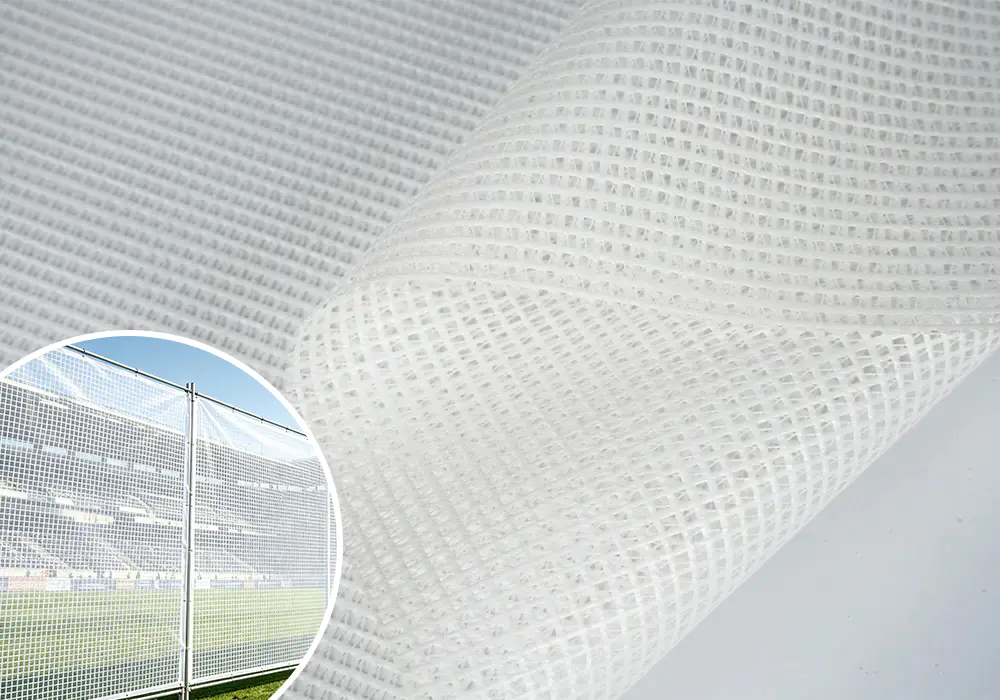 Lightweight Foldable Mesh Tarpaulin for Event Promotion
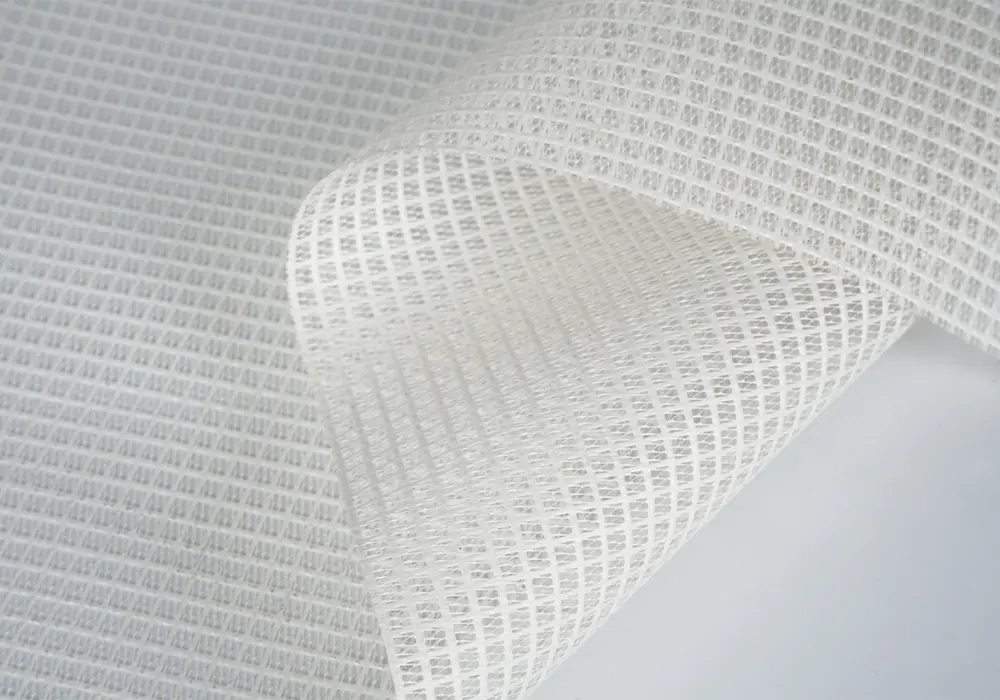 Breathable Wind Resistant Mesh Tarpaulin for Advertising
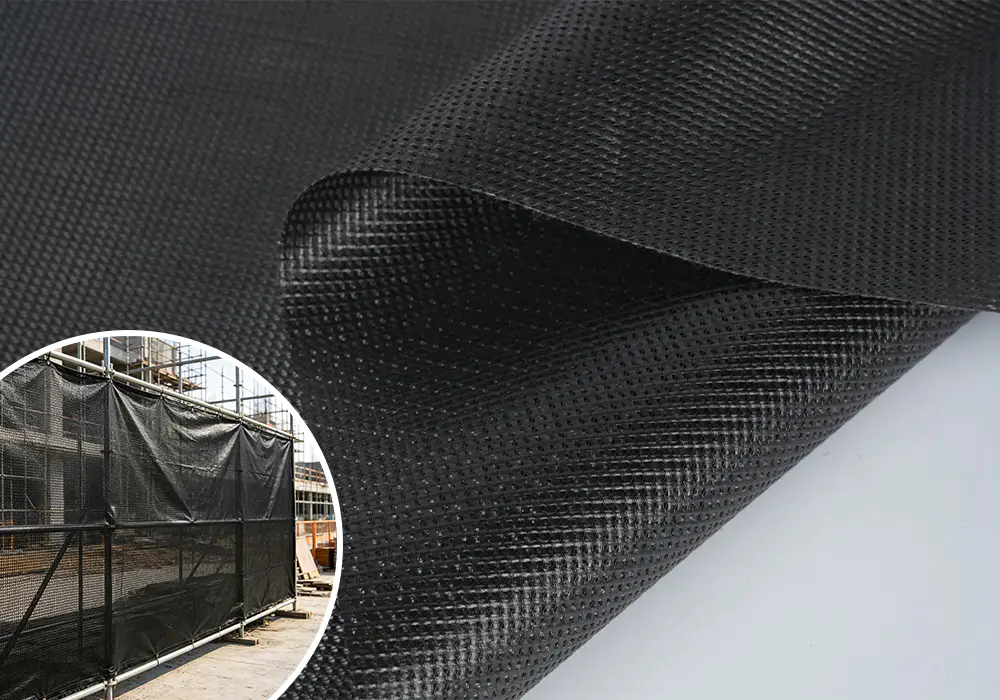 All Weather Heavy Duty Mesh Tarpaulin for Barrier Fencing
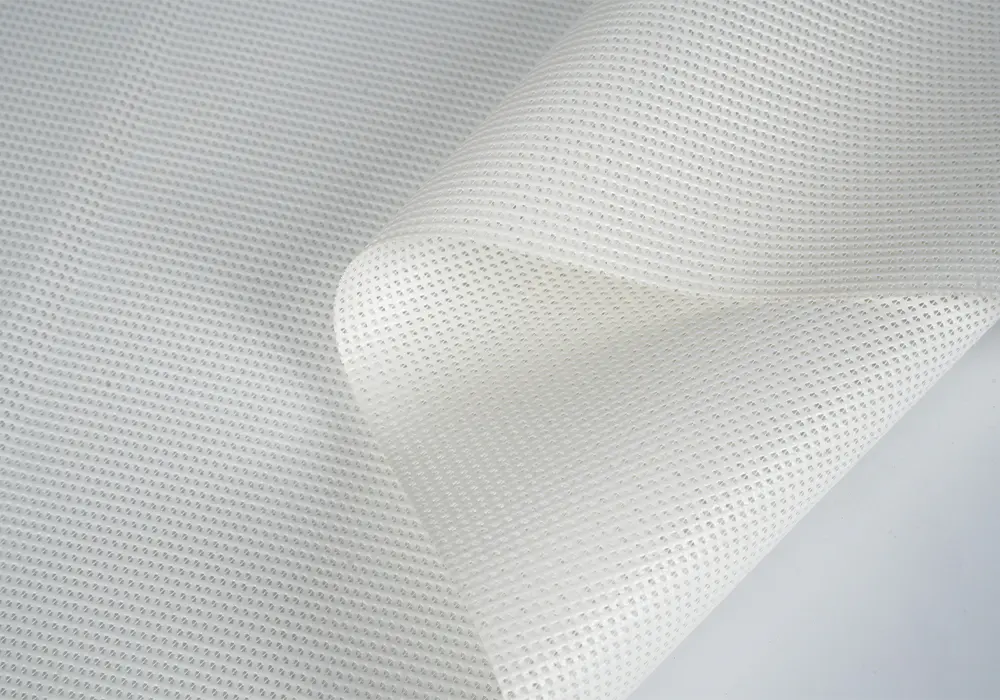 Dense Weave Light Block Mesh Tarpaulin for Commercial Display
 Industrial-Grade Reinforced UV-Resistant Clear Tarpaulin
 High Tensile Tear Proof Large Format Mesh Tarpaulin
 Custom Digital Printing Fabric Manufacturers
 Previous