

 English
  中文简体
中文简体  Español
 News
Home / News / Industry News / How to Measure for a Tarp: The Step-by-Step Sizing Guide for Any Object


Content
Ordering a tarp looks like a simple job: measure the item, pick a size, and place an order. In practice, many tarps arrive too small, too tight, or impossible to secure because the measurement was taken from the wrong reference points. A correctly sized tarp must account for the shape of the object, the distance it has to hang down on each side, the extra material needed for anchoring, and the difference between the dimensions quoted by the supplier and the usable dimensions after hemming. This guide covers each step of measuring for a tarp, with practical numbers you can apply directly. The same method works whether you are covering a small piece of furniture on a balcony or a large trailer parked in an open yard. Once you understand the three numbers that control the fit, length, width, and drape, every future tarp order becomes much more predictable.
Accurate measurement starts before you open the tape measure. The right preparation is what prevents re-measuring and reordering. Assemble several basic tools and confirm exactly which part of the item the tarp needs to cover. The tools do not have to be expensive, but they do have to produce repeatable readings.
Flat surfaces include floors, stacked timber, pallets, ponds, sand piles, and temporary ground covers. They are the easiest objects to size, but they are also where people make the most avoidable mistake: ordering a tarp that exactly matches the surface dimensions. Every side of a flat surface needs extra material for stones, sandbags, ropes, or pegs that hold the tarp in place.
Example: a stack of roof tiles measures 3.0 m long and 2.4 m wide. With 30 cm of overhang on each side, the tarp must measure at least 3.6 m by 3.0 m. A tarp that exactly matches the stack leaves no way to anchor it along the edges.
| Surface length | Surface width | Overhang per side | Minimum tarp size |
|---|---|---|---|
| 2.0 m | 1.5 m | 0.30 m | 2.6 m x 2.1 m |
| 3.0 m | 2.4 m | 0.30 m | 3.6 m x 3.0 m |
| 6.0 m | 4.0 m | 0.45 m | 6.9 m x 4.9 m |
Machinery, vehicles, boats, wood piles, and tall equipment require the tarp to cover the top and hang down on all four sides. Three values matter here: the length, the width, and the drape distance, which is how far the tarp skirt extends down each side. The drape is a deliberate choice you make when you look at the actual object, and it changes both the required length and the required width.
Example: a compressor measures 2.4 m long, 1.1 m wide, and 1.5 m high. The tarp has to drape 1.0 m down each side, and 25 cm extra is needed on each total dimension for tie-downs. The required length is 2.4 + 2.0 + 0.25 = 4.65 m, where the 2.0 is the drape on both sides. The required width is 1.1 + 2.0 + 0.25 = 3.35 m. A standard 4.8 m by 3.4 m tarp provides a comfortable fit without excessive slack.
Tarp suppliers quote dimensions in two different ways, and confusing them is a common source of sizing errors. Cut size is the dimension of the raw material panel before any edge treatment. Finished size is the usable dimension after the edges are hemmed, sewn, or heat-sealed. Depending on the hem width and the material thickness, the finished size is usually 5 to 15 cm smaller than the cut size in every direction.
When you request a quote, ask whether the supplier is providing the cut size or the finished size. If you have calculated a required size of 3.6 m by 3.0 m and the supplier quotes cut sizes, the finished tarp will be slightly smaller than your calculation. In that case, order the next larger standard size.
| Term | Meaning | Effect on sizing |
|---|---|---|
| Cut size | Raw panel before hemming | Requires an extra allowance when comparing |
| Finished size | Usable size after hemming | Can be compared directly to your calculation |
Temporary tarps for damaged roofs need a different logic because the covered surface is sloped. Measure the ridge length, which is the horizontal length of the roof peak. Then measure the distance from the ridge to the eave along the actual slope, not across the ground. Multiply the ridge-to-eave distance by 1.5 to obtain the required tarp width, because the tarp must cross the ridge and hang slightly past the eave on both sides. Add 30 to 60 cm to the length and width for anchoring over the ridge, along the eave, and at the corners. If the two slopes of the roof are unequal, measure each slope separately and use the larger value.
The usable floor area of a pitched tarp is smaller than the fabric area, because the pitch angle and the inward curve of the walls reduce effective coverage. Rain makes the situation worse, because one side must be pitched lower to shed water, which shrinks the dry zone under the tarp. Choose a tarp that is at least 20 to 30 cm larger in both dimensions than the dry area you actually need. For two people with gear in fair weather, a 3 m by 3 m tarp is a practical minimum; for rain or wind, a 3 m by 4 m tarp provides a safer margin.
For a truck or trailer, take three separate measurements: the inside length of the load box, the width across the load rails, and the height of the cab shield if one is installed. Add the box length, the cab shield length, and the cab shield rise, then add a fastening allowance of 30 to 60 cm to get the total tarp length. For the width, use the load rail width plus the amount of side skirt you want on each side. Recording the three measurements separately is important, because the tarp shape depends on each value and not on a guessed total.
When replacing a canopy cover, measure the frame and not the old fabric. Old covers stretch, shrink, and tear, so they are not a reliable reference. Measure the outside of the frame rails to obtain the length and the width. If the frame is arched, measure the height of the arc at the centre of the span and record the curved distance from one side to the other. Some frames require extra material at the corners to clear the bend, so also measure the diagonal distance from one corner to the opposite corner before you finalise the order.
A correctly sized tarp can still fail if the securing points are wrong. Grommets are the reinforced holes along the edge of the tarp, and their spacing determines how evenly the load is distributed and how well the cover resists wind. As a general rule, space grommets 45 to 60 cm apart along every edge. Heavy covers with high wind exposure need closer spacing or larger grommets, especially on the corners.
| Edge length | Recommended spacing | Approx. grommets per side |
|---|---|---|
| Up to 3 m | 45 cm | 6 to 8 |
| 3 m to 6 m | 50 cm | 7 to 13 |
| Over 6 m | 60 cm | 12 or more |
Corners carry the highest load, so they should have reinforced grommets, D-rings, or both. If you are ordering a custom tarp, ask for extra reinforcement at the corners and along any edge longer than 3 m. Ropes and straps used with the tarp should be at least 8 mm in diameter for covers up to 20 square metres, and larger for bigger tarps, because a thin rope cuts through the fabric around a grommet when the wind loads the cover.
The list below covers the most frequent errors seen in tarp orders. Each one is easy to avoid once you know that it exists.
The rules below summarise the measurement process described in the previous sections. Write down the numbers, check them again a day later, and ask a second person to verify the longest and widest points. A tarp order is rarely urgent enough to skip a second check.
Whichever application you are measuring for, the core logic is identical: start with the true maximum dimensions of the object, add the drape or overhang on every side, add a small allowance for fastening, confirm the supplier sizing basis, and round up to the nearest standard size. Following this sequence takes less than five minutes and removes nearly all of the uncertainty from the order.
Cut size is the dimension of the tarp before hemming or edge sealing. Finished size is the usable dimension after the edges are folded and secured. The difference is typically 5 to 15 cm in each direction, so always ask which value the supplier is quoting.
For a flat surface, add 30 to 45 cm of overhang per side. For a three-dimensional object, add the drape distance on each side plus 20 to 30 cm of tie-down allowance on each total dimension.
No. A tarp that exactly matches the object leaves no material for securing and places stress directly on the anchor points. A tarp that is slightly larger is easier to fasten, handles wind better, and protects the object more reliably.
Measure the longest length and the widest width of the whole shape, then add the drape and tie-down allowance to both dimensions. Round up to a rectangular tarp that fully contains the shape, and use additional tie-down points where the tarp does not follow the contour closely.
The 1.5 multiplier is applied to the ridge-to-eave distance. It accounts for the tarp crossing the ridge and hanging down both slopes. For thick or stiff materials that do not follow the roof profile easily, use a higher multiplier and add more anchoring allowance.
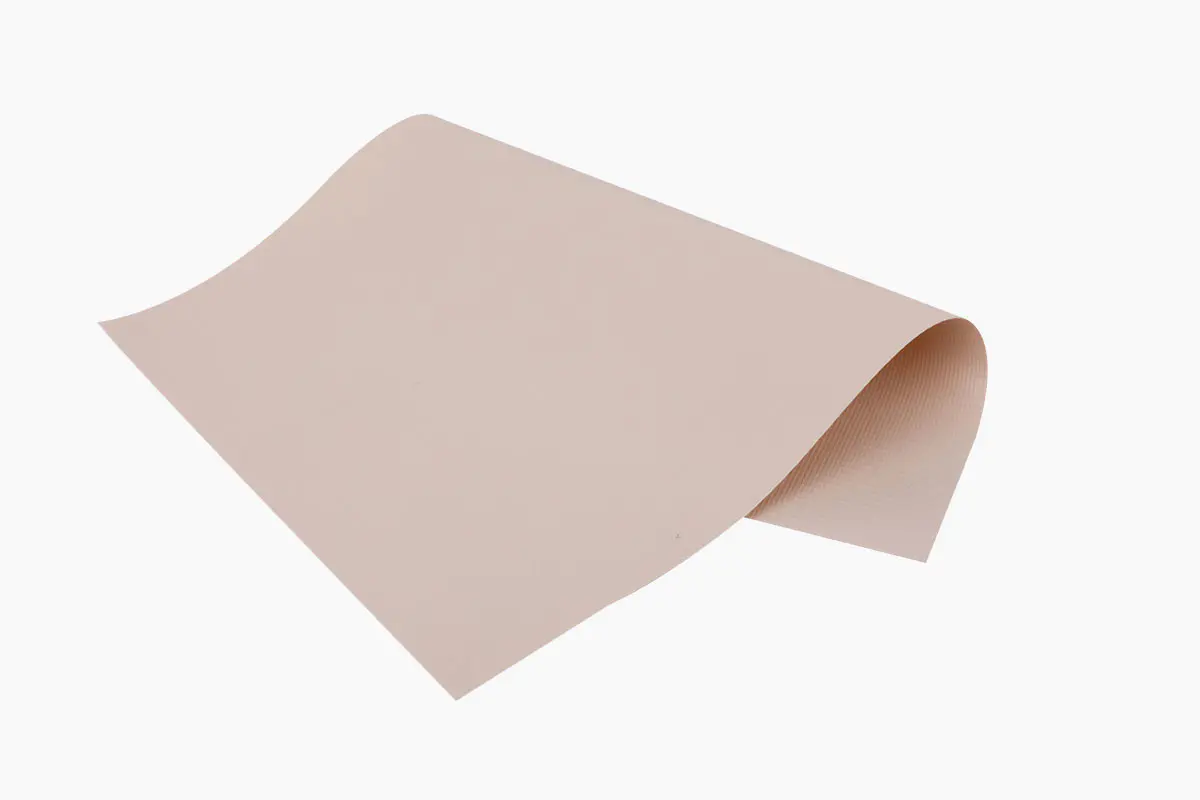 Heavy-Duty Reinforced Waterproof Tarpaulin
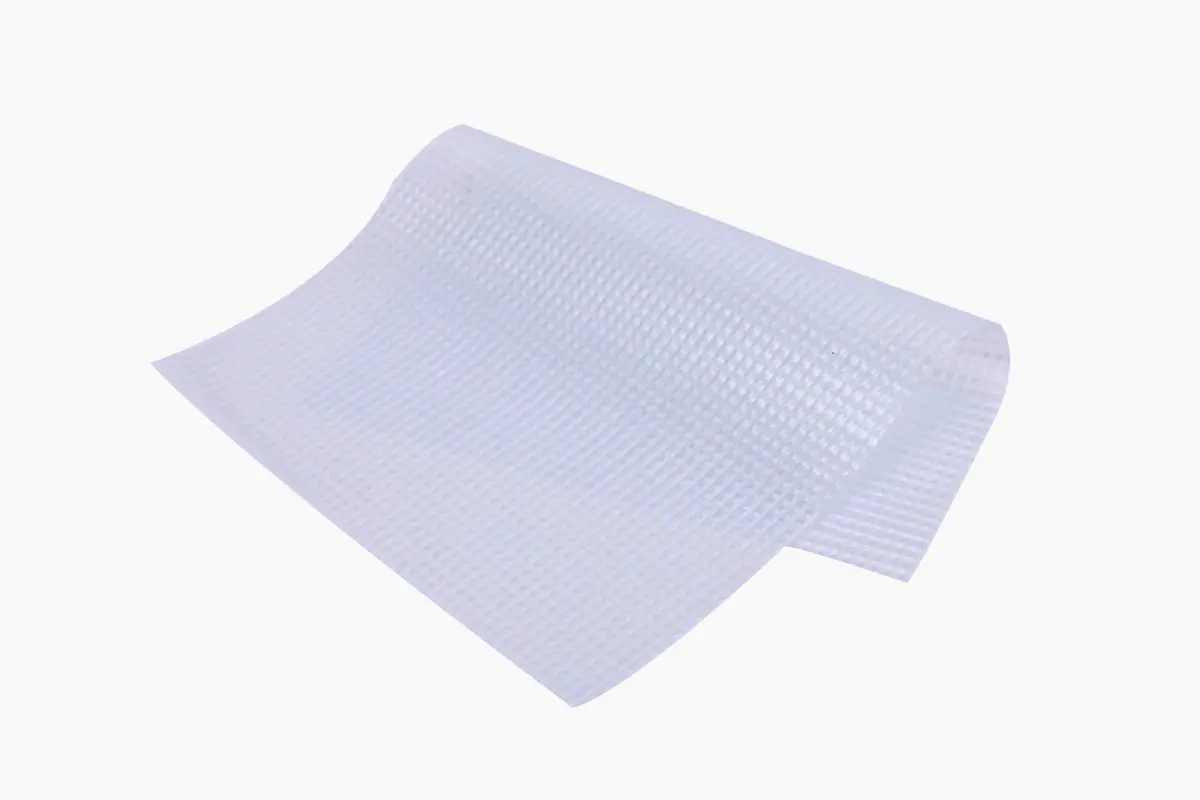 Industrial-Grade Reinforced UV-Resistant Clear Tarpaulin
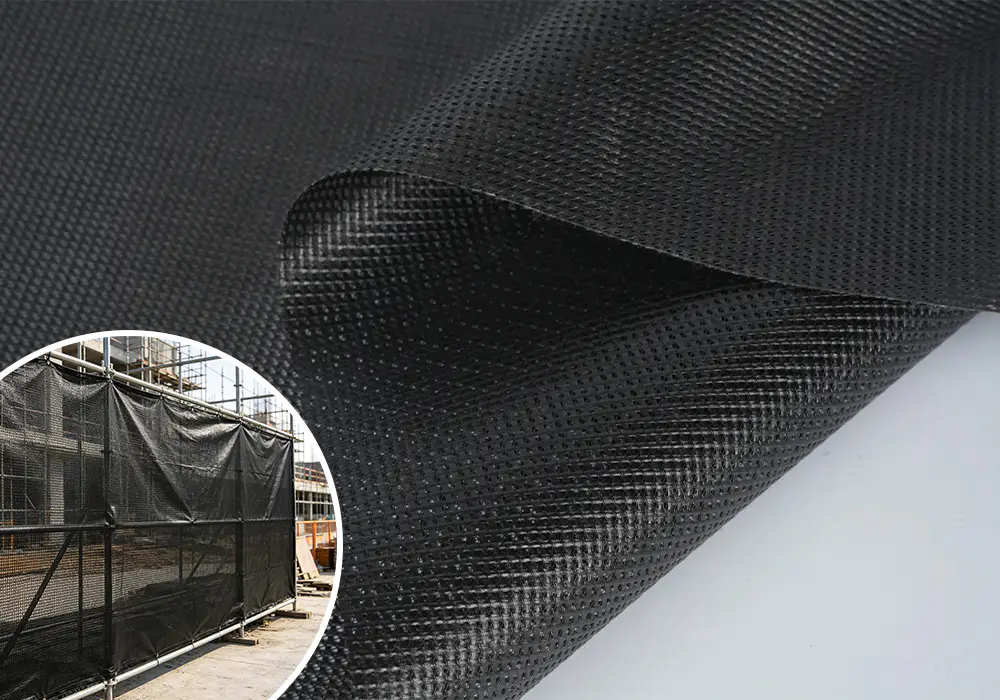 All Weather Heavy Duty Mesh Tarpaulin for Barrier Fencing
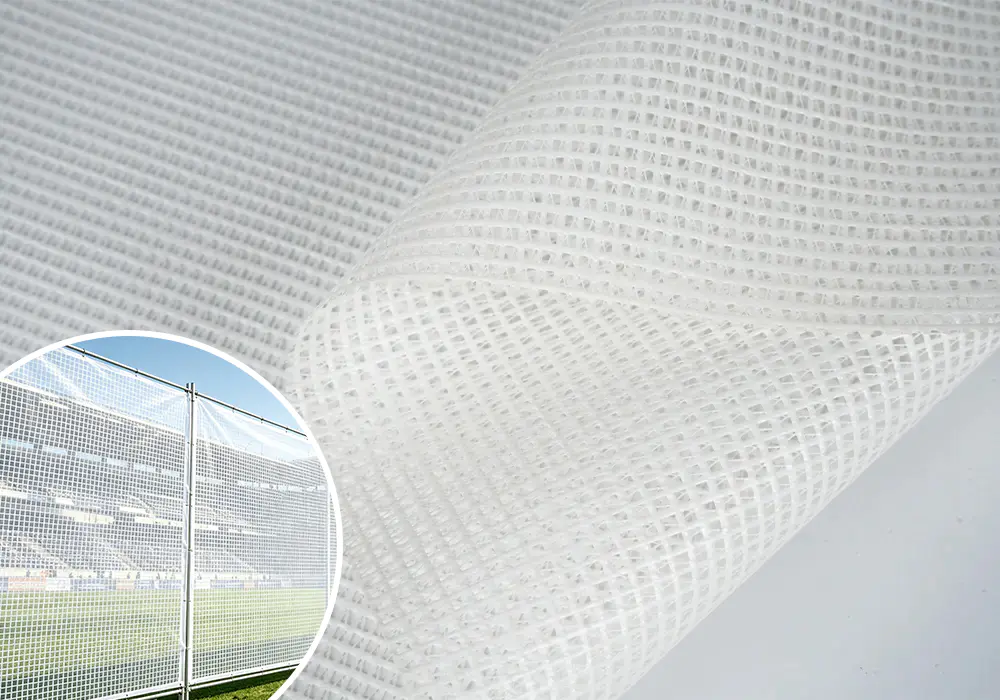 Lightweight Foldable Mesh Tarpaulin for Event Promotion
 Dense Weave Light Block Mesh Tarpaulin for Commercial Display
 Breathable Wind Resistant Mesh Tarpaulin for Advertising
 Custom Digital Printing Fabric Manufacturers
 Previous